Asus WL-HDD2.5 User Manual
Browse online or download User Manual for Computer Accessories Asus WL-HDD2.5. Asus WL-HDD2.5 User Manual
- Page / 14
- Table of contents
- BOOKMARKS
- Wireless WL-HDD 1
- Quick Start Guide 1
- Hardware Components 2
- TCP/IP Settings 3
- Connecting Power 3
- SSID Settings 5
- Using the Hard Disk Drive 6
- Accessing the Hard Disk Drive 6
- Using the ASUS Utility 7
- Hard Drive Pre-scan Function 8
- Formatting the Hard Disk 8
- Setting up Permissions 9
- Editing the User List 9
- Editing the Shared Nodes List 9
- Applying permissions 11
- Auto-copy Function 12
- System Setting 14
- Change Password 14
- Factory Default 14
Summary of Contents
Wireless WL-HDD(For 802.11g/b Wireless Clients)Quick Start GuideQE2013 / Apr 2005¤
10 ASUS Wireless "WL-HDD" Quick Start1. Under the Shared Nodes List on the Storage Setting - Shared Nodes page,scroll to select the desired
ASUS Wireless "WL-HDD" Quick Start 11Applying permissionsAfter adding users who can access the hard drive and setting up accessrights for th
12 ASUS Wireless "WL-HDD" Quick StartSharing files on the ASUS Wireless WL-HDDThe ASUS Wireless "WL-HDD" is primarily designed to
ASUS Wireless "WL-HDD" Quick Start 13Notes: If you remove the flash disk from the ASUS Wireless "WL-HDD" and insert it again, the
14 ASUS Wireless "WL-HDD" Quick StartSystem SettingClick the System Setting option on the left panel to display its submenus.This set of men
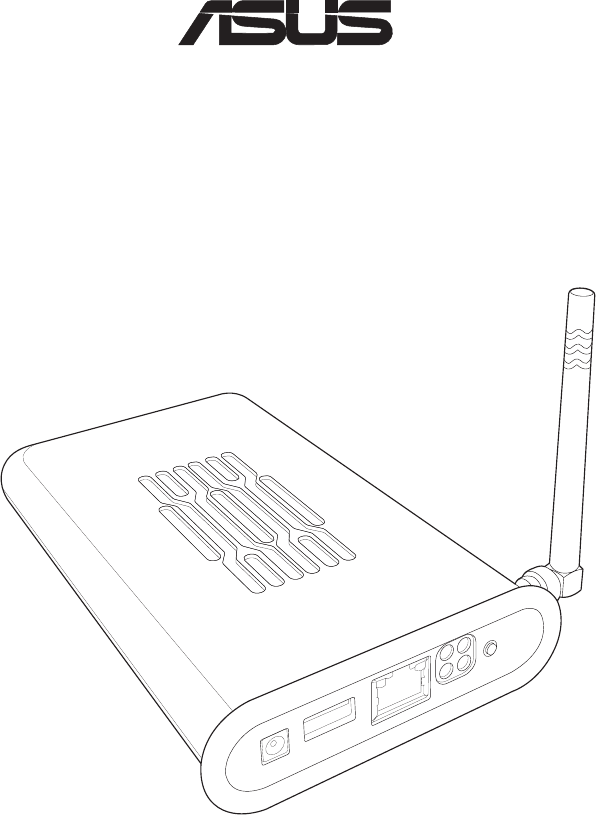
2 ASUS Wireless "WL-HDD" Quick StartHardware ComponentsThis section gives you a tour of the different ports and status indicators ofthe ASUS
ASUS Wireless "WL-HDD" Quick Start 3Connecting PowerAttach one end of the AC poweradapter, included in the productpackage, to the power jack
4 ASUS Wireless "WL-HDD" Quick StartIf you set your computer’s (wireless client) IP manually, it needs to be onthe same segment as the ASUS
ASUS Wireless "WL-HDD" Quick Start 54. Select “Use the following...”IP address: 192.168.1.xxx (xxxcan be any number between 1 and254 that is
6 ASUS Wireless "WL-HDD" Quick StartUsing the Hard Disk DriveNow that you have installed the ASUS Wireless "WL-HDD" and connectedi
ASUS Wireless "WL-HDD" Quick Start 7Using the ASUS UtilityWe recommend that you install the ASUS utility provided on the softwareCD included
8 ASUS Wireless "WL-HDD" Quick Start3. A message is displayed on thescreen to warn you that formattingwill erase all data on the disk. Click
ASUS Wireless "WL-HDD" Quick Start 9Setting up PermissionsYou can set up the hard drive permissions so that only the specified userscan acce
More documents for Computer Accessories Asus WL-HDD2.5


Related products and manuals for Computer Accessories Asus WL-HDD2.5
 (13 pages)
 (24 pages)

 (2 pages)
 (10 pages)
 (38 pages)
(28 pages)
(38 pages)
(38 pages)
(28 pages)
(38 pages)
© 2020, manymanuals.com. All rights reserved. | 1.995 s |
 Manymanuals.com
 Manymanuals.de
 Manymanuals.fr
 Manymanuals.it
 Manymanuals.pl
 Manymanuals.cz
 Manymanuals.es
 Manymanuals-pt.com
Comments to this Manuals